Let's bind some eyelets! This is one way I know; maybe you'd like to try? I took lots of pictures so I hope they help and give you confidence to try this yourself.
Before the how to, let's think – why would you chose to bind an eyelet rather than apply a grommet? First of all, it's period (period meaning it's what they would have used before 1830). In addition to being historically accurate, they're easier to apply that the metal grommets if you like upper body strength like I do, you don't have to worry out them popping out, and you don't need specialized tools.
Alright, the how to:
Materials:
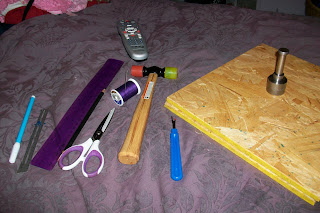 Seam gauge: needed to you can space the holes accurately
Dressmaker's pen or pencil: to make out the eyelets
Needle: to help you pull the thread through the fabric, of course – choose one in a heavy gauge if your corset has a substantial interlining!
Thread: choose one that is STRONG! Try upholstery thread, some hand quilting threads, or machine embroidery threads. Remember that lacings are going through those eyelets and rubbing over your stitching. Pick a thread that can withstand it.
Awl, sharpened stick (really, no joke)/pencil: to make the holes. Something pointy like those will stretch the fabric and prevent ravelling. You can also use scissors or that weird hole punch thing that you buy at Jo Ann's to set grommets, but remember that once you cut into the fabric, it becomes weaker.
Ruler: lets you make sure the eyelets are in a straight line.
NOTE: These instructions are being written referring to your corset. If this is your first time trying this method, please try it out on scrap fabrics! Everyone needs to practice skills before they go to their corset >_<.
Steps:
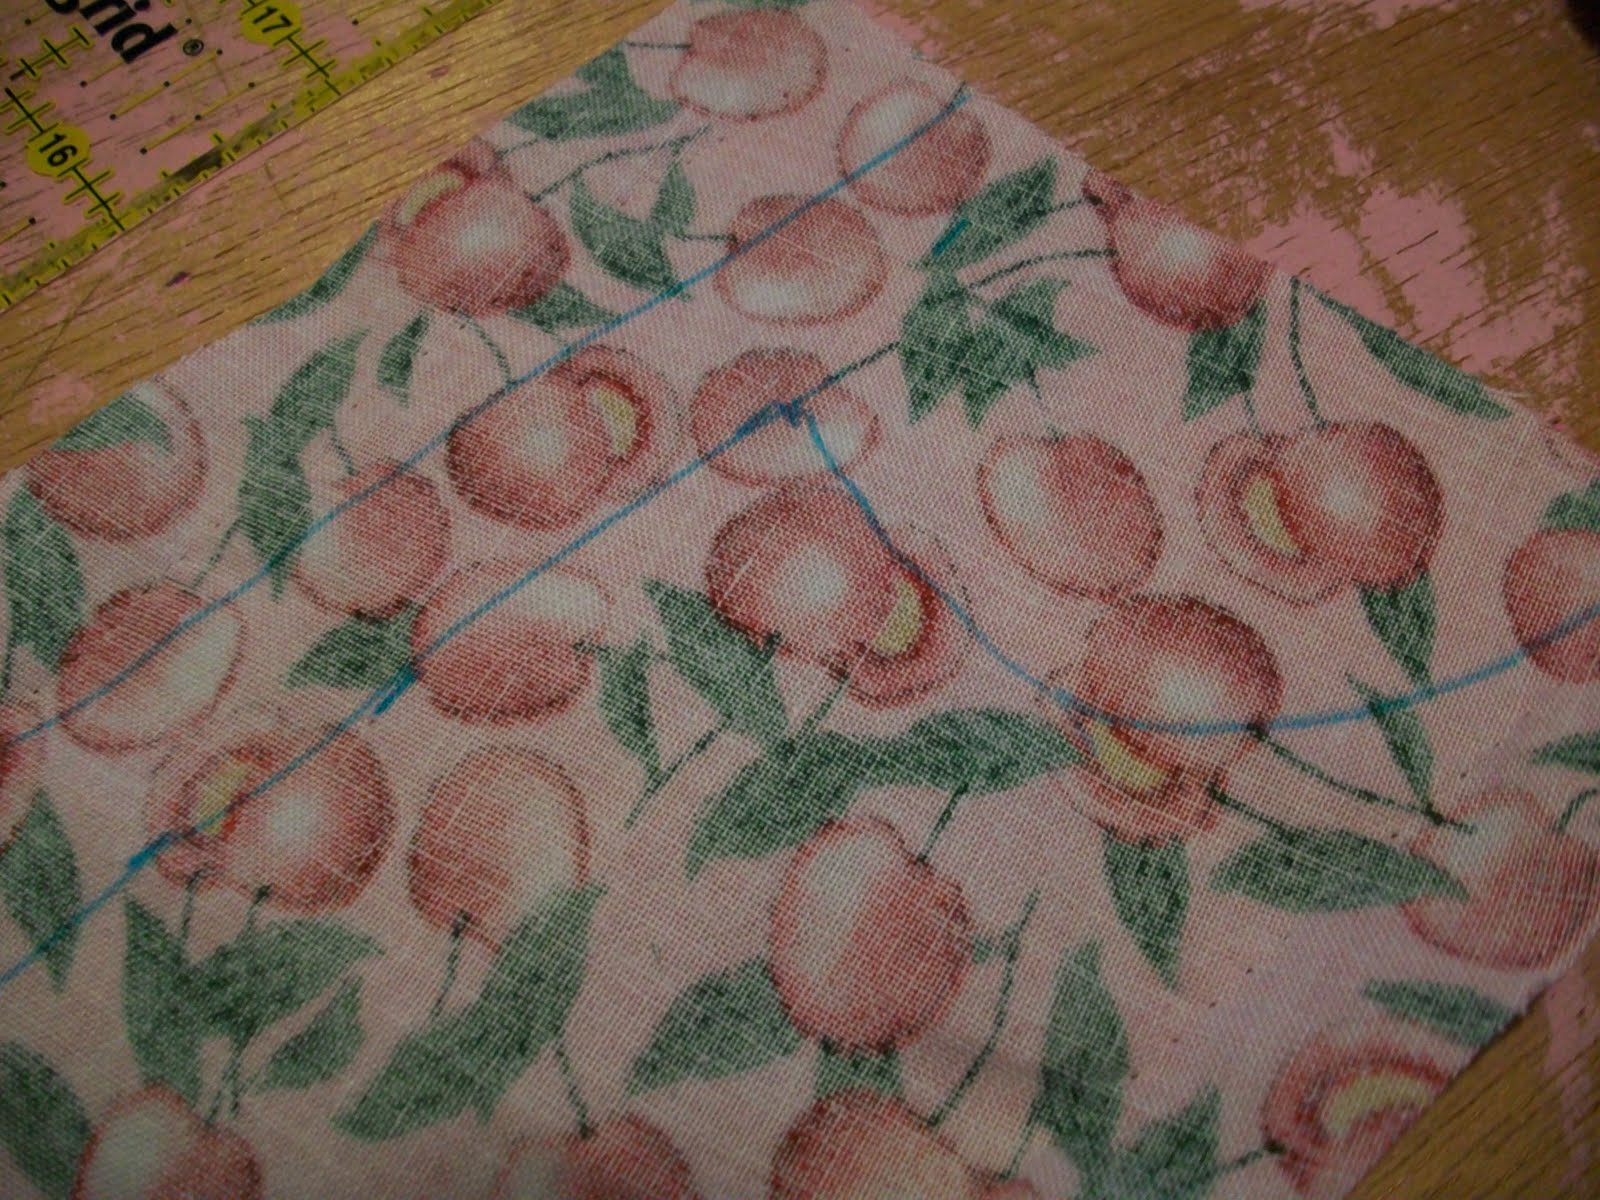
Find your eyelet channel. Take the ruler and with your dressmaker's pen draw a line from top to bottom of the corset right down the middle. This will let you set your eyelets in a nice strait line.
Decide how your eyelets will be spaced. Take your seam gauge and dressmaker's pen and plot out where your eyelets will be.
 |
| Take your pointy implement or scissors or punch, and make the eyelet holes. It may seem scary at first if this is your first time making a corset, but don't worry – you need to do this! If you're using a sharpened skewer or pencil to make your holes, please be very careful and mind your fingers!! Last thing you need is blood all over your pretty corset! |
Holes all in? Good. Grab your thread and needle and cut a very long piece of thread. Then match cut end to cut end of thread and put both cut ends through the needle. Tie all cut ends to the loop side so that you're sewing with 4 threads instead of one or two.
Ready now? Take a deep breath and let's go: insert the needle into the back side of the corset and pull through to the front. Put the needle through the hole. Insert the needle through the threads just under the knot and pull to secure,
Push the needle through to the front near your first stitch. Pull thread through all the way, pulling tight.
Put the needle through the hole, push through back half way.
 |
| Wrap the thread behind the needle. Pull needle though front of corset. |
 |
| Take a stitch over the stitch you just made to secure "L" shape. |
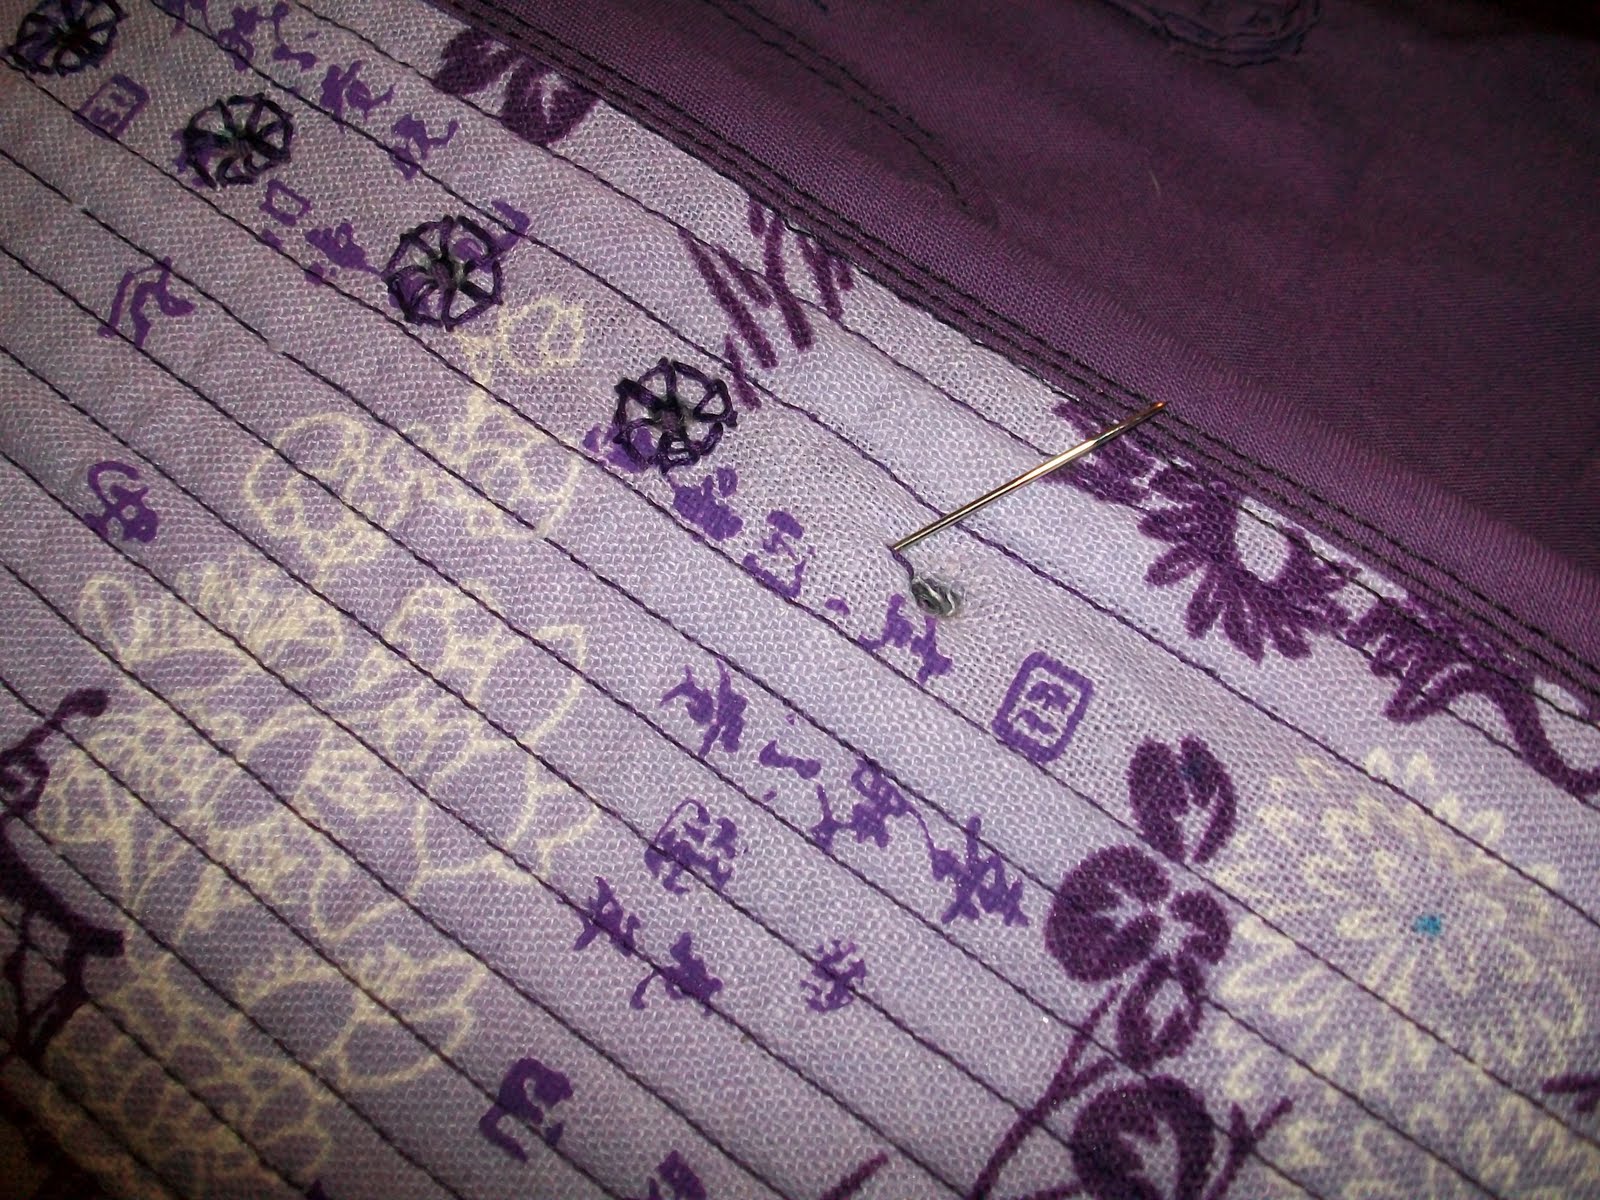
Insert the needle close to your last stitch from the back and repeat. Keep on and it will look like this:
To finish the eyelet, continue doing what have been doing to make those "L" shapes. When you make your last securing stitch, tie off the threads on the underside of the corset.
I hope this tutorial helps you. If you have any questions please ask. Remember to try this method and perfect it before you actually implement it on your actual corset.